How to split tickets in Zendesk
Splitting tickets in Zendesk helps you manage complex customer requests by breaking them into smaller, focused tasks. This ensures faster resolutions, better organization, and improved collaboration across teams. Here’s what you need to know:
- When to Split Tickets:
-
How to Split Tickets:
- Manually create a new ticket for unrelated issues.
- Manually transfer metadata, such as tags and priority, to maintain clarity.
- Name and tag tickets for easy tracking (e.g., "[SPLIT]", "parent-ticket").
-
Advanced Tools:
- Automate ticket splitting with third-party apps.
-
Best Practices:
- Track parent-child ticket relationships with tags and custom fields.
- Regularly review workflows, permissions, and reporting metrics to optimize processes and ensure efficiency.
Splitting tickets improves efficiency, reduces confusion, and ensures the right teams handle the right tasks. Whether it’s a billing issue or a compliance query, this approach keeps your support system organized and effective.
When to Split Tickets
Knowing when to split tickets can make all the difference between a smooth support process and a chaotic one. The trick lies in identifying situations where keeping everything in a single ticket creates more confusion than clarity. By spotting these scenarios, you can apply the right splitting strategy to streamline resolutions.
Multi-Issue Requests
When customers bundle unrelated problems into one ticket, it’s time to split things up. Combining multiple issues in one request can confuse both your team and the customer, especially when responses start to diverge from the original concern.
Take the example of an online bookstore: A customer submits a ticket complaining about incorrect billing, a delayed shipment, and inquiring about a book’s availability. These issues require different expertise and have varying resolution timelines. The finance team handles billing, logistics deals with shipping delays, and the support team answers availability questions. Keeping all of this in one ticket makes tracking a nightmare and delays updates. Splitting the ticket ensures each issue gets the attention it needs from the right team.
Similarly, software companies face challenges when customers report bugs alongside feature requests. A bug requires immediate attention from engineering, while feature requests undergo a separate evaluation process with product management. Handling both in the same ticket slows down critical fixes and muddles communication.
Cross-Department Queries
Some requests naturally span multiple departments, each of which needs to address its part of the problem. Splitting tickets in these cases enables each team to focus on its specific tasks while maintaining a connection to the main project.
Let’s say a software company receives a request from an enterprise client. The client reports a security vulnerability, asks for additional user licenses, and inquires about API rate limits. Here’s how it breaks down: The security team investigates the vulnerability, sales manages the licensing conversation, and technical support answers the API questions. Each team deals with different stakeholders - security might involve external auditors, sales coordinates with procurement, and support works directly with the client’s developers.
By splitting the ticket, each department can manage its workflow independently. The security team can prioritize their issue and escalate it if needed, while sales and support follow their standard processes. Without splitting, the urgency of one issue could disrupt the workflow of another, creating unnecessary bottlenecks.
Compliance Requirements
In regulated industries, splitting tickets isn’t just about efficiency - it’s often a compliance requirement. Different issues may demand varying levels of access control, documentation, and handling procedures.
For example, healthcare organizations using Zendesk must adhere to HIPAA regulations. If a ticket combines technical queries with protected health information, keeping it all together could violate access control rules. While the IT team might handle the technical issue, only HIPAA-trained personnel should access the health-related data.
Similarly, financial services face challenges with regulations like GDPR. A customer may submit a ticket requesting account assistance while also requesting data deletion under GDPR. While standard support can address the account issue, the data deletion request requires specialized compliance protocols and documentation.
Splitting tickets in these cases ensures sensitive information stays within the appropriate access boundaries. It also allows teams to follow the correct procedures for redaction and secure handling of sensitive data. Establishing clear criteria for prioritizing and splitting tickets helps maintain both workflow efficiency and regulatory compliance.
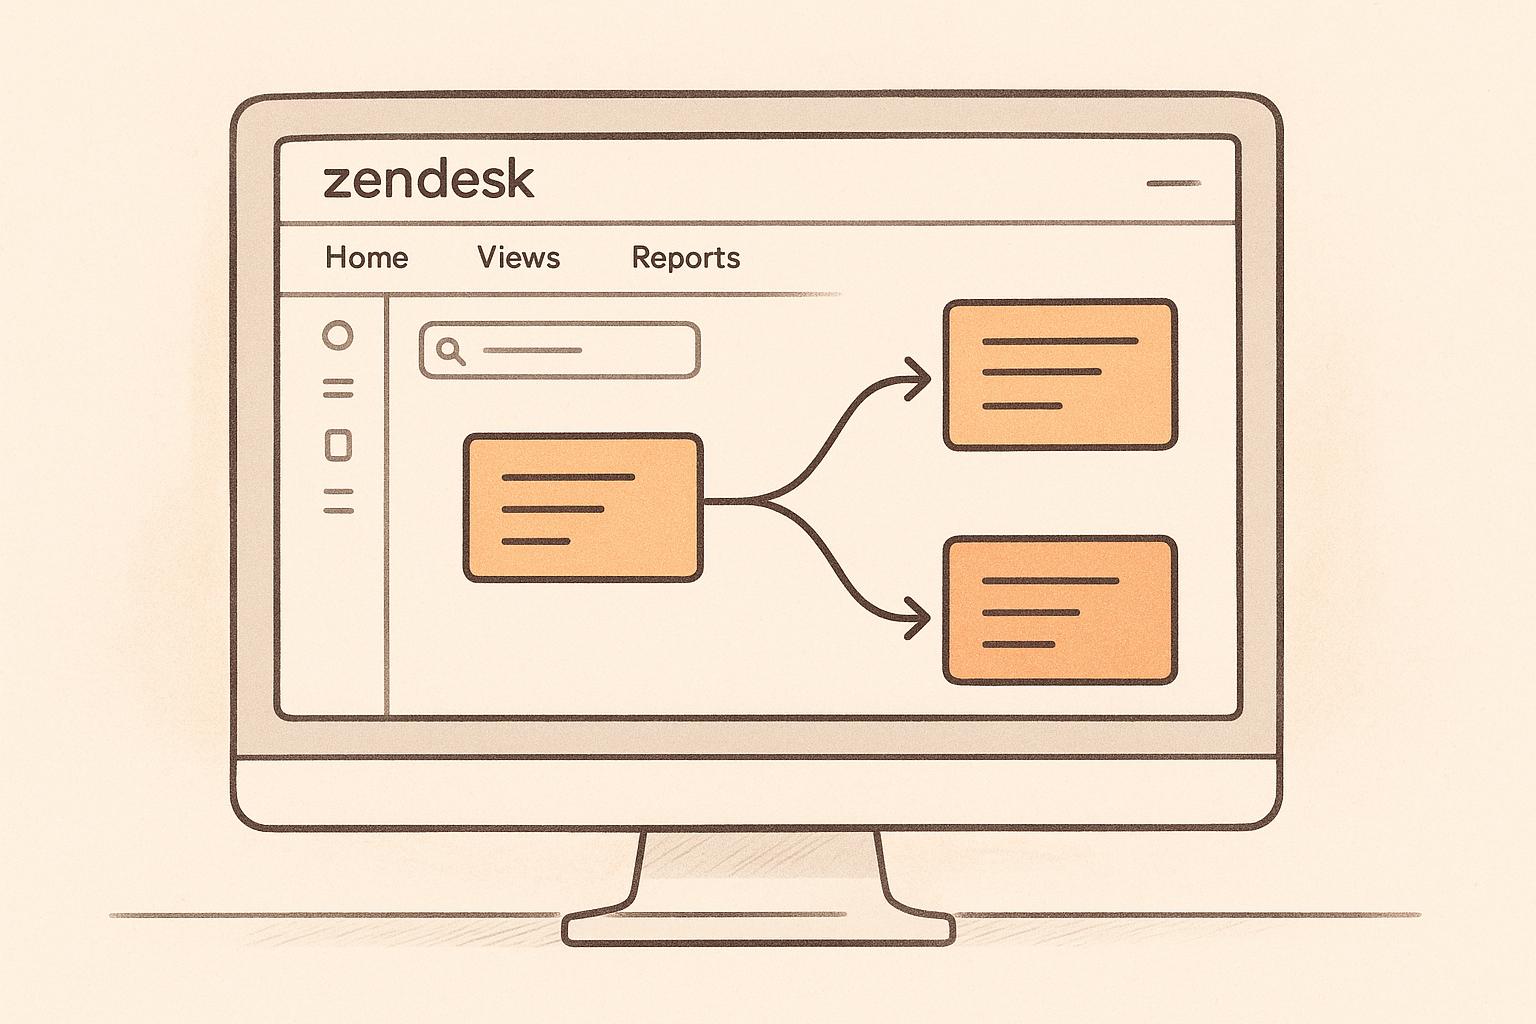
How to Split Tickets in Zendesk
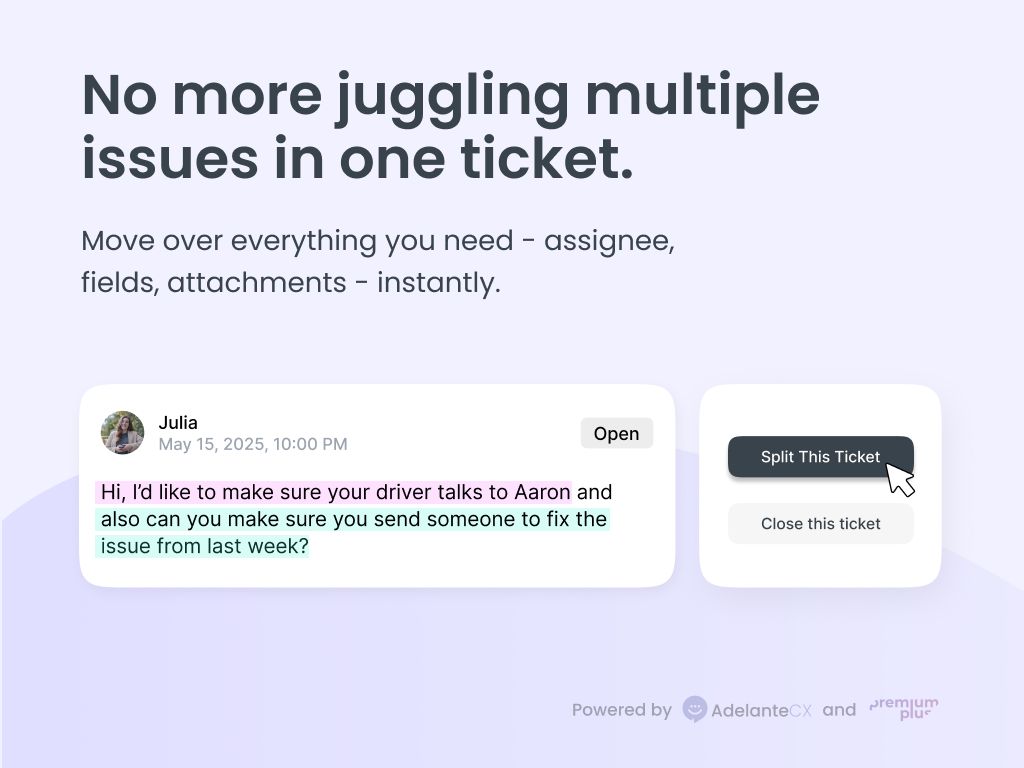
Now that you know when to split tickets, let’s dive into how to actually do it. Zendesk doesn’t make this easy: There’s no built-in "Split Ticket" feature, which means you can’t create a new ticket easily, when a customer brings up a completely different topic in an ongoing conversation.
Splitting a ticket manually
The most simple way to split a ticket is manually. By creating a new ticket for the new issue, the original ticket will remain intact, keeping its conversation history, while the new ticket starts fresh with the details you’ve provided. This is especially useful when a customer adds an unrelated request to an ongoing thread. After splitting, you can manually transfer any relevant details, such as metadata or history, to ensure that both tickets are correctly documented.
Keeping Metadata and Ticket History
When you split a ticket, it’s important to preserve key information like tags, custom fields, and priority settings. Since this step isn’t automated, you’ll need to manually copy over this metadata to the new ticket.
To maintain clarity, add notes to both tickets that detail the split. For example, in the original ticket, you could write, "Billing issue split to ticket #12345 for separate handling by the finance team." In the new ticket, include a note like, "Split from original ticket #11111 – shipping delay inquiry remains in the original thread." These notes create a clear connection between the two tickets, helping agents understand their relationship.
It’s also a good idea to reassess the priority and urgency of each ticket. The original ticket’s priority level might not apply to the new issue, so evaluate them separately to ensure the appropriate response.
Naming and Organizing Split Tickets
Once the tickets are split and metadata is transferred, it’s crucial to organize them properly. Clear, descriptive subject lines make a big difference. For instance, instead of vague titles like "Customer Issue - Part 2", use something specific like "Refund Request – Order #54321 – [Customer Name]."
Consistent formatting can also help. Consider adding prefixes or suffixes, such as "[SPLIT]" or "- Part 1 of 2", to indicate related tickets at a glance. Additionally, you can use tags like "parent-ticket" or "child-ticket" to streamline tracking and reporting. If your team frequently splits tickets for specific reasons, more detailed tags like "split-billing", "split-technical", or "split-compliance" can make workflows even smoother.
Finally, assign each split ticket to the right team or agent as soon as it’s created. This step ensures clear ownership and prevents confusion, keeping your workflow efficient.
sbb-itb-1d80ec1
Advanced Ticket Splitting Methods
The manual process is excellent for simple cases, but when you're managing large-scale support operations, you need more advanced strategies. Enterprise teams can take ticket splitting to the next level by leveraging automation tools and Apps to streamline workflows and efficiently handle high ticket volumes. Let’s dive into how these methods can help.
Automation with Macros
Macros are game-changers when it comes to streamlining ticket splitting. Macros are predefined actions you can execute with a single click. They can handle repetitive splitting tasks effortlessly.
For example, you can set up macros to handle common actions, such as assigning ticket parts to different teams, adding tags (e.g., "split-billing" or "split-technical"), and automatically updating fields. Picture this: a macro could instantly tag a ticket as "Feature Request", send a thank-you note to the customer, and forward the ticket to your product team for review, all in one go.
To keep things running smoothly, it’s important to regularly review and adjust your macros. As your business grows and new support needs arise, updating these rules ensures your automation stays aligned with your workflows.
Using the Ticket Split App for Ticket Splitting
For teams with complex workflows or unique needs, the Ticket Split App offers a powerful way to automate ticket splitting. This approach is ideal for organizations requiring custom integrations or advanced automation.
The app enables you to create, update, and close tickets automatically, providing complete control over how tickets are split. Start by prioritizing security - use apps that are SOC2 compliant.
Some everyday use cases for the Zendesk apps for splitting tickets include bulk editing assignments and advanced routing logic. By leveraging these capabilities, you can enhance Zendesk’s core features and develop a support process tailored to your specific needs.
Managing Split Tickets and Workflow
Once tickets are split, keeping them organized is crucial to maintaining an efficient workflow. Poorly handled split tickets can lead to confusion and inefficiencies. To avoid this, establish clear tracking systems, utilize reporting tools effectively, and implement proper access controls. Let’s dive into how to track ticket relationships, analyze performance, and set access levels to keep things running smoothly.
Tracking Parent and Child Tickets
Building on earlier strategies for splitting tickets, it's important to establish clear parent-child connections. Use custom fields and tags to link related tickets, ensuring that support processes stay seamless.
A well-structured tagging system can make it easier to filter and manage related tickets. For instance, tags like "parent-billing-inquiry" and "child-billing-inquiry" help maintain clarity in ticket relationships.
To streamline your processes further, create custom views using these tags and fields. For example, set up views that display all child tickets linked to a specific parent or filter tickets based on their relationship status. This ensures that no tickets are overlooked and that workflows stay on track.
Reporting and Metrics
Effective reporting is essential for evaluating how well split tickets are managed. Zendesk Explore provides tools to analyze ticket performance through prebuilt dashboards and custom reports tailored to your workflows.
With the Tickets dataset, you can access metrics and attributes to analyze ticket data. This allows you to monitor the full lifecycle of split tickets, from creation to resolution.
Key metrics, such as resolution time, first reply time, and customer satisfaction, can help you determine whether splitting tickets is improving efficiency or adding unnecessary complexity. These insights are invaluable for refining your support processes.
Custom fields are another powerful tool for reporting. By tagging split tickets with specific fields, you can track performance across different categories. For example, you might create fields to differentiate between tickets routed for departmental purposes and those routed for compliance purposes. This level of detail can reveal patterns and guide future workflow improvements.
One limitation to keep in mind is that Zendesk Explore doesn’t capture the content of ticket comments. If you need to report on comment-related data, consider adding a custom multi-line text field where agents can input relevant information for reporting.
User Access and Permissions
Managing access and permissions is just as important as tracking and reporting. Zendesk apps provide Role-based access control ensuring that only the right team members can split tickets, minimizing misuse and protecting data integrity.
Restrict ticket splitting to experienced team members, such as senior agents, team leads, or specialists who understand when and how to split tickets effectively. This reduces the risk of unnecessary splits that could complicate workflows instead of simplifying them.
When setting up permissions, consider the scenarios where splitting might be necessary. For instance, first-line support agents may only require basic splitting capabilities for straightforward multi-issue tickets, while specialized teams handling compliance or escalations might need more advanced access.
Clearly document your permission structure so team members understand their roles and know who to contact for more complex ticket-splitting scenarios. Include examples of when different permission levels apply and outline escalation procedures for situations that exceed an agent’s authority.
Regularly auditing permissions is a good practice to ensure your access controls stay relevant as your team grows and changes. Review who has splitting capabilities on a quarterly basis and update permissions as roles, performance, or business needs evolve.
Finally, proper training is essential for anyone with ticket-splitting permissions. Even with the right access, agents need to know your organization’s specific guidelines for splitting tickets, maintaining parent-child relationships, and documenting their actions effectively. This ensures consistency and prevents errors in your workflow management.
Conclusion
Splitting tickets in Zendesk simplifies handling complex support inquiries. By breaking down intricate tickets into smaller, focused tasks, you can create a smoother workflow that benefits both your support team and your customers.
This approach offers several advantages, including quicker resolutions, more targeted agent efforts, and improved customer satisfaction. When tickets are divided and sent to the appropriate departments, agents can focus on their areas of expertise rather than being overwhelmed by unrelated issues. This targeted focus not only speeds up response times but also ensures more precise solutions.